8 Easy Steps to Refinish a Wooden Coffee Table
Does your wooden coffee table look worn out, scratched, and in need of some TLC? Sounds like you need to refinish your coffee table to bring out its natural beauty and transform our space.

The Seb Coffee Table with Storage. Picture credits: @logangood
Best of all - you don’t have to be a professional to do it! In this article, we’ll walk you through 8 easy steps to refinish your wooden coffee table so that it shines as a centrepiece in your living room.
Step 1: Assess the current condition
Before starting your refinishing project, carefully examine your wooden coffee table to assess its condition. Identify any scratches, dents, or imperfections that need attention.
Understanding the starting point will help you plan the necessary steps and materials required for refinishing.
Step 2: Prepare your workspace
Create an ideal workspace for refinishing your coffee table. As there are chemicals and fumes involved, you want to make sure you work in a well-ventilated area. Lay down cloth or old newspaper to protect your floor or working surface when you apply stains or paint strippers.
Gather all the necessary tools and materials, including sandpaper, paintbrushes, stain or paint, and protective gear such as gloves and goggles.
Step 3: Clean and sand your coffee table
Clear your coffee table of any decoration and wipe down the table (including the legs) with a damp cloth. This removes any food residue and dust so you have a clean canvas to begin.
If your coffee table has a lacquer finish, apply lacquer thinner or paint stripper and let it sit for some time. Ensure you are in a well-ventilated area or outdoors when you apply the stripper as it is dangerous to inhale in great amounts and can burn your skin. Using gentle and even pressure, scrape off the softened finish with a plastic scraper and repeat until the lacquer has been completely removed.
Then, sand the surface with coarse-grit sandpaper to expose the bare wood and remove any lacquer residue. Keep in mind to use long, even strokes, following the direction of the wood grain. Once the old finish is removed, switch to finer-grit sandpaper for a smoother surface.
Step 4: Wash and let dry
Scrub your wooden coffee table down with a scrub brush, dish soap, and water to clean off any leftover residue. Dry it with a clean cloth and lay the table out to dry for a couple of hours.
Step 5: Repair and fill imperfections
If you’ve identified any imperfections or damages on your wood coffee table, fill them with wood filler once your table has dried. Apply the filler to cracks or scratches and level it off with a scraper. Allow the filling to dry completely.
Step 6: Sand for a smooth finish
Once your fillings have dried down, it's crucial to sand the coffee table to achieve a smooth surface. Use finer-grit sandpaper to smooth the entire coffee table, ensuring that you remove any remaining imperfections and unevenness.
Do take your time and be thorough because once you stain or paint your coffee table, any bumps or dents will be visible.
Step 7: Apply the finish
Using a high-quality brush or a clean cloth, apply a finish to your coffee table. Depending on your preferred aesthetic, you can opt for stain, paint, or a combination of both.
Apply even coats in the direction of the wood grain, allowing each coat to dry before applying the next. Repeat this process until you achieve the desired depth of color and coverage.
Step 8: Protect and seal

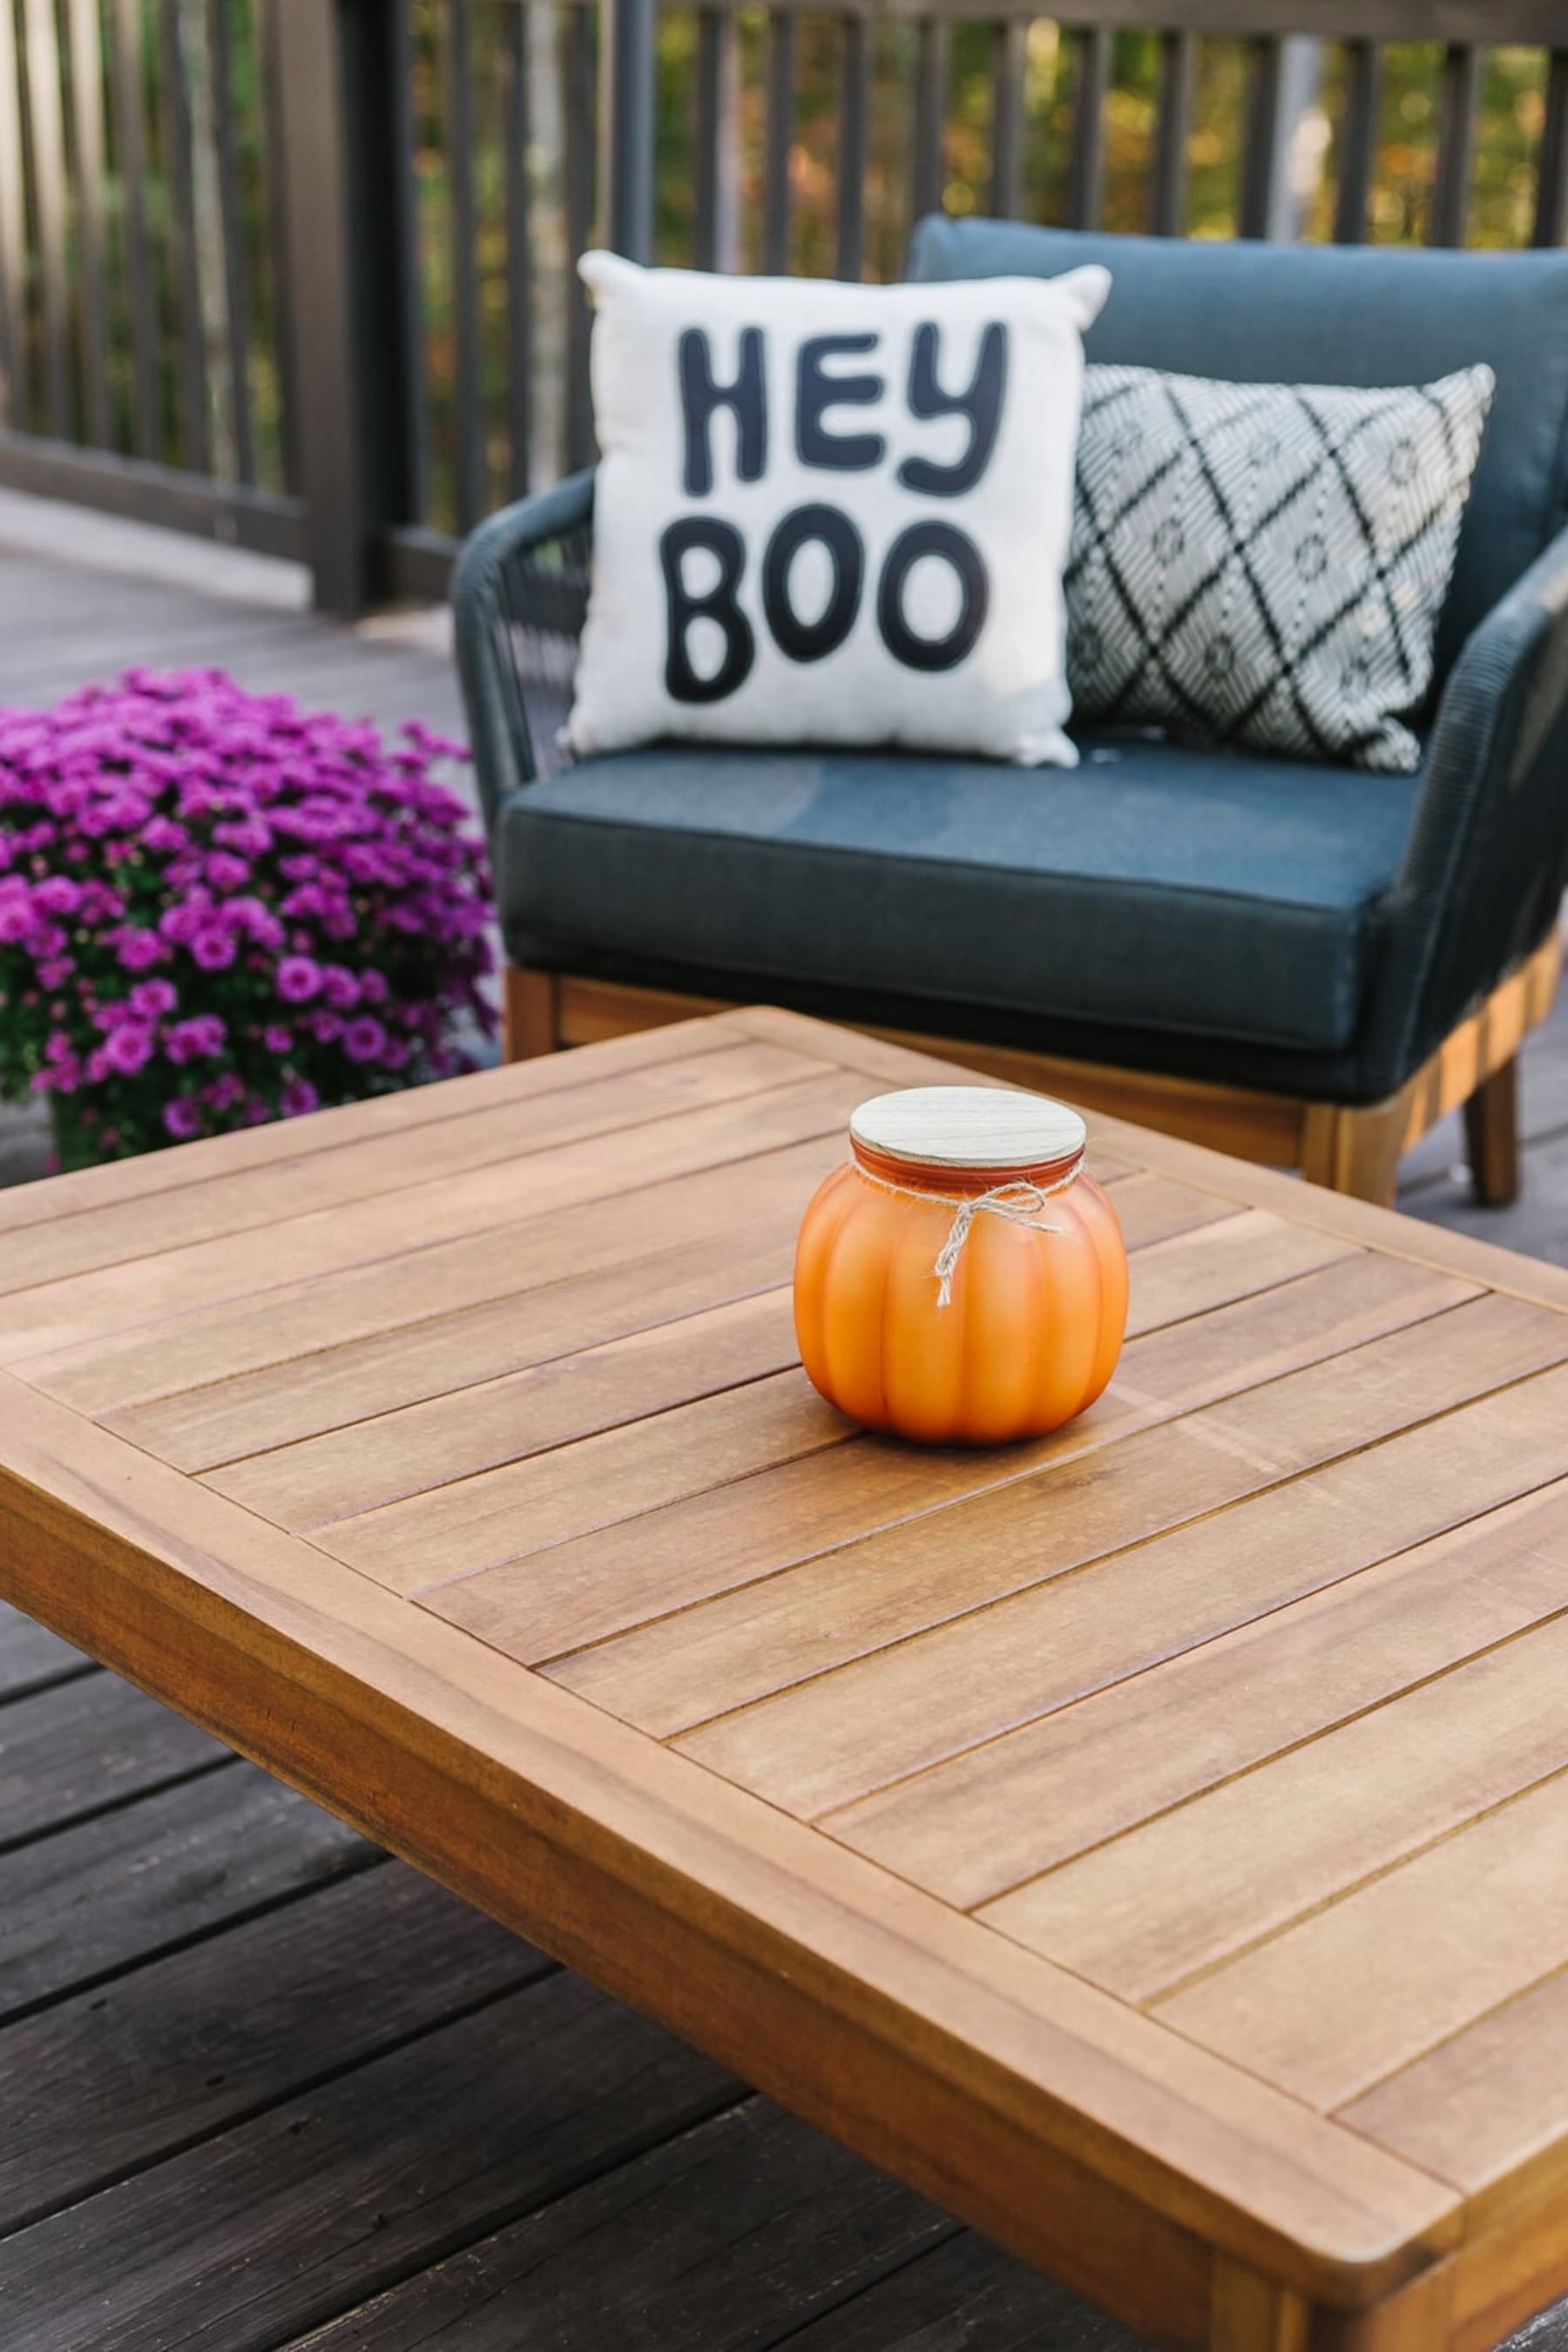
The Maui Outdoor Coffee Table and Maui Outdoor Lounge Chair. Picture credits: @nitraab
Protect your newly refinished coffee table with a sealant or clear topcoat. This step adds durability and safeguards the finish against everyday wear and tear. Follow the product instructions carefully and apply multiple coats if necessary, allowing adequate drying time between each coat.
If you’re using the wooden coffee table outdoors, consider using furniture covers after you’ve refinished it to protect the table from mildew growth.
Recommended read: How to Clean Outdoor Furniture
By following these 8 easy steps, you can breathe new life into your wooden coffee table and turn it into a stunning centrepiece for your living space. With careful planning, the right materials, and a bit of patience, you'll achieve remarkable results that showcase your style and add a touch of elegance to your home.